As someone who has loved cooking and baking since earliest childhood, one of the many parts that I found fascinating was jam-making. Naturally, I was not allowed anywhere
near the stove and heated fruit, but it was still mesmerizing. It truly is like kitchen alchemy to me. Transmutation, even. Fruit is lovingly picked, washed, prepared and segmented, placed into a heavy pot that has more than likely been a loyal jam companion for years, sprinkled with all sorts of sugary goodness, and simmered until transformed into a deeply rich spread that is marvelous in
endless ways. Such a simple, unburdened process, with only a few ingredients, one pot, and a wooden spoon. Truly brings back to much simpler times. And although I do most of the canning around late summer and early autumn, there are certain jams and conserves that are simply delightful to make during spring and summer. As general advice, for any and all canning recipes, pick the ripest fruits you can find, because that way, it will add as much as its natural sweetness as possible. That also allows for less granulated sugar, as the fruit in its prime is delightfully sweet. I also find that the tiny
addition of vanilla makes it taste like candy. I often write about the setting point of jams, the famed 105°C. However, the truth is, as long as the fruit is soft and in plenty of its own syrup, one can hardly go wrong with jam. If it is slightly overcooked and set too firmly, it will be a fantastic filling for cakes or pastries, because it will be stable. If it is slightly undercooked and set too softly, it will be marvelous
over yoghurt, granola, and even vanilla ice cream. Jams are always good. That is what cooking is, and always should be about. Exploring and enjoying the entire process, and finding what is perfect for you.
Ingredients
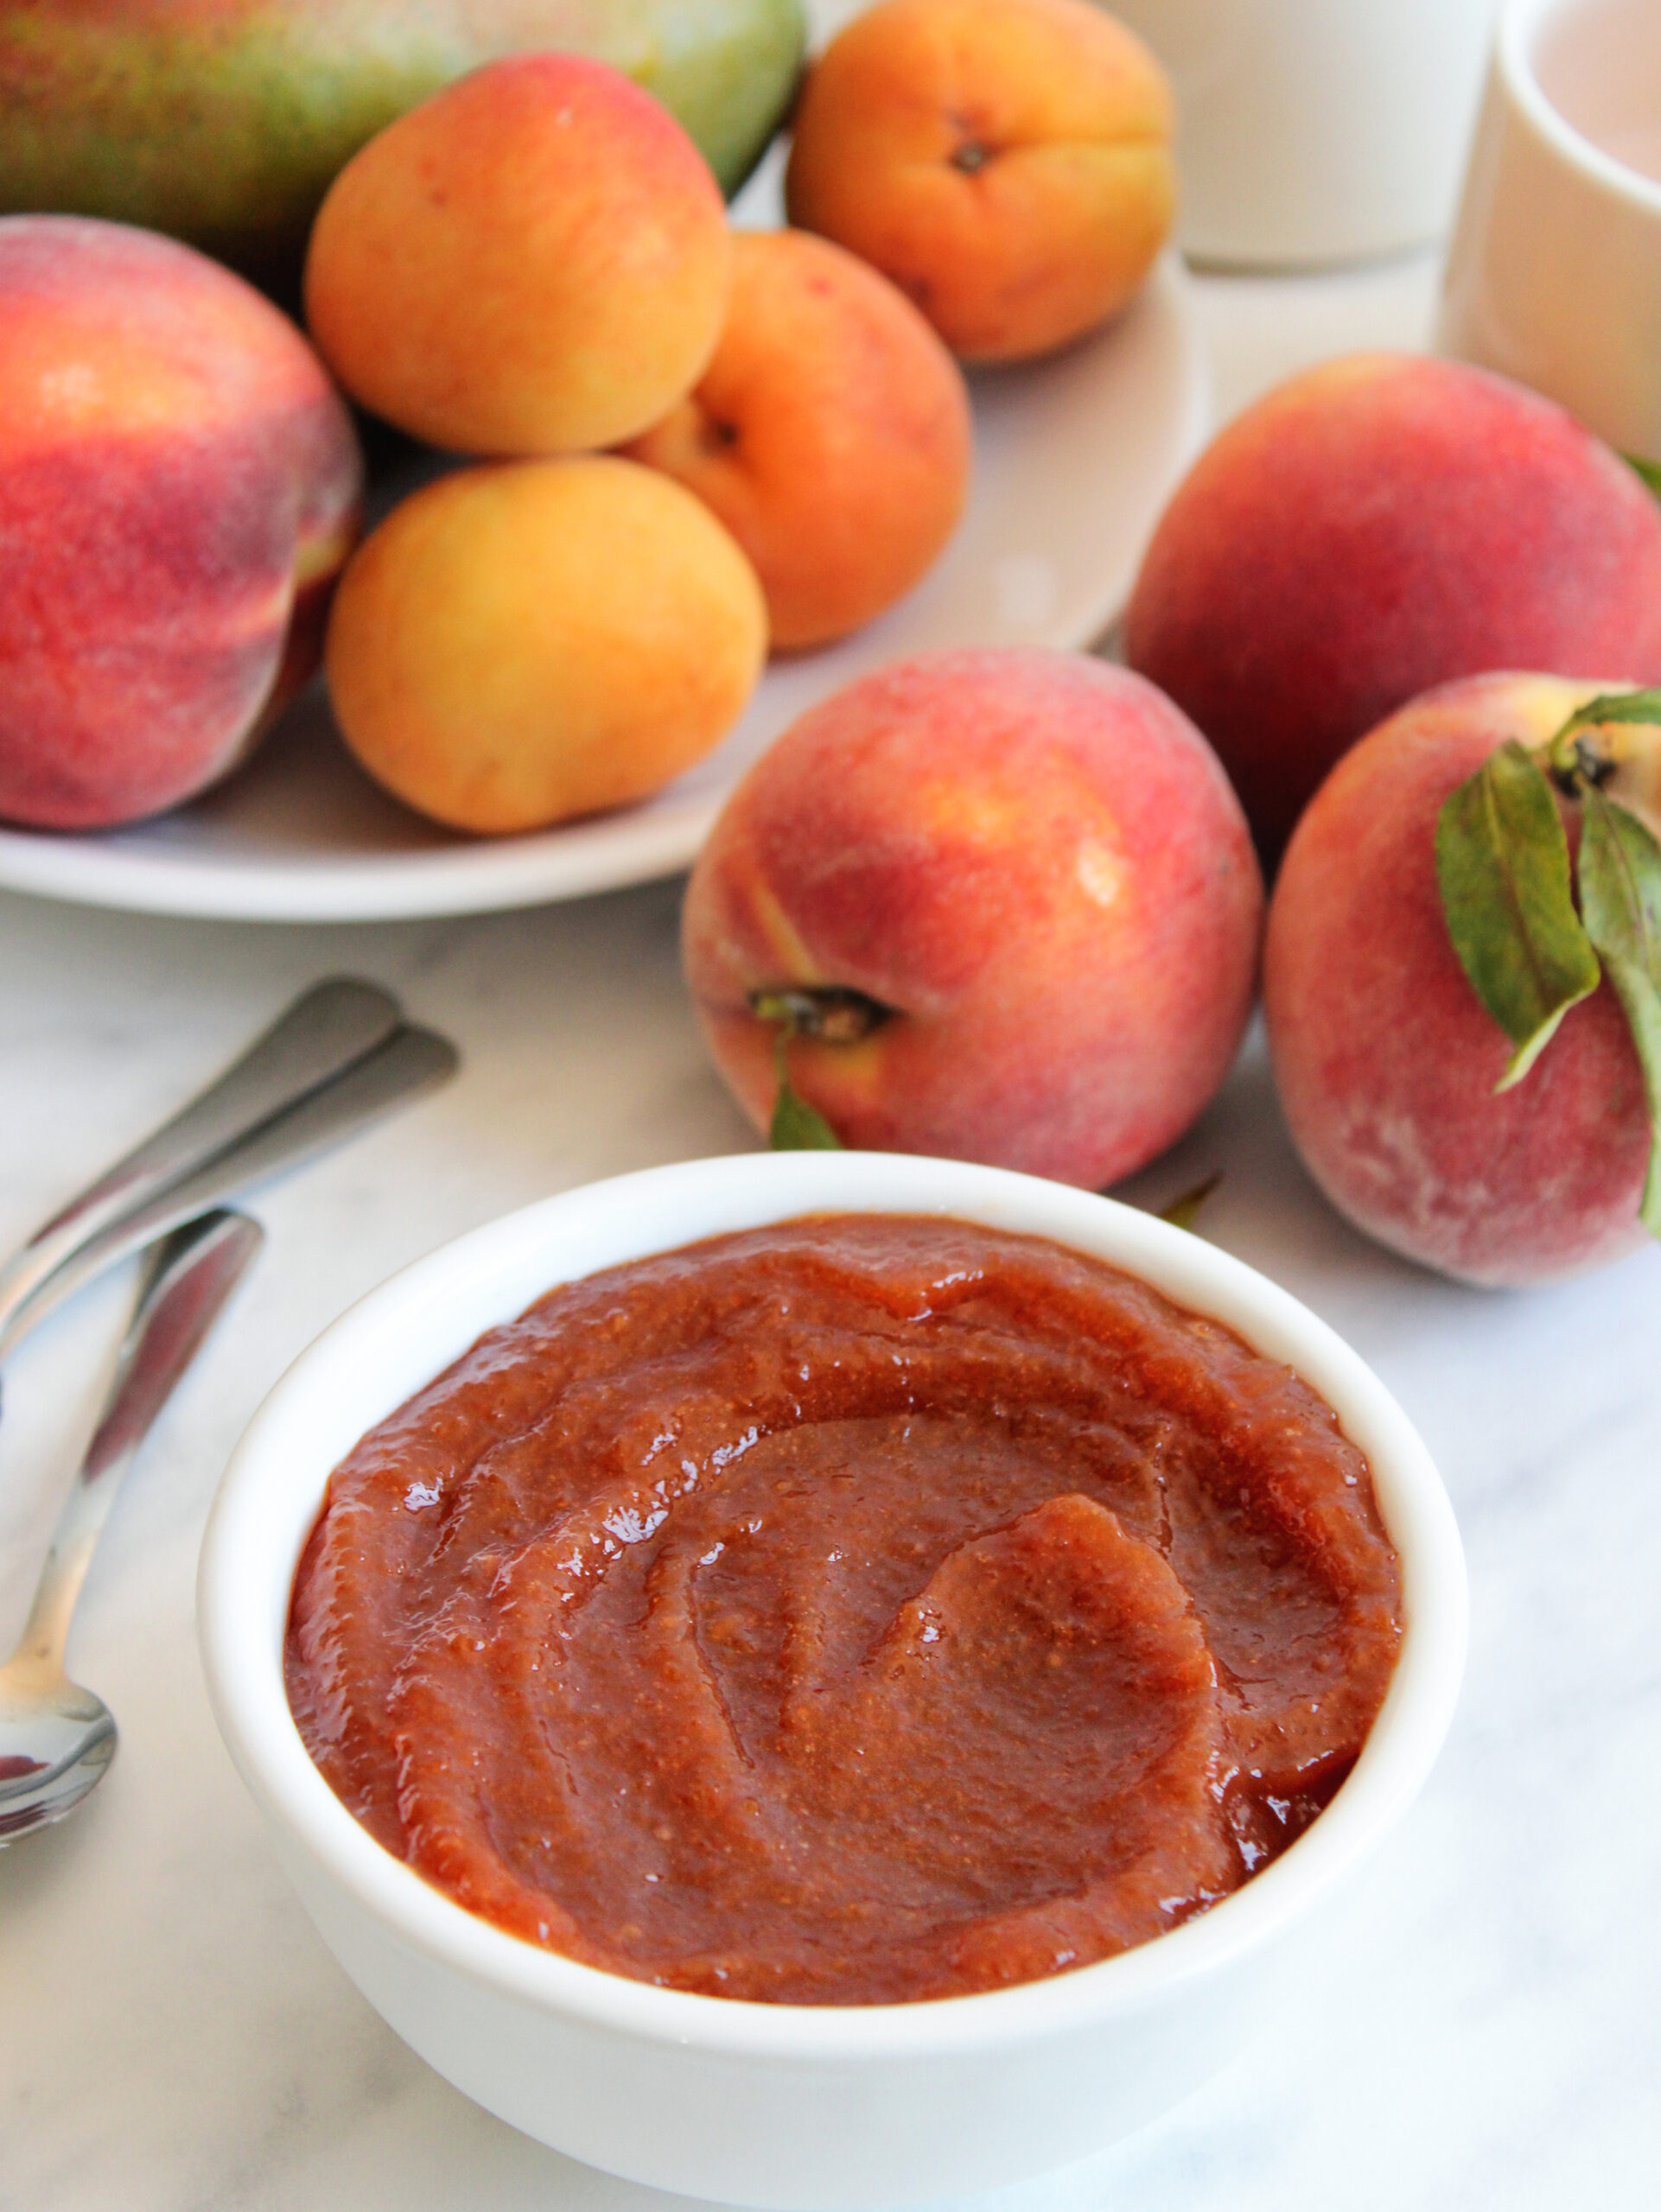
200g (7 oz) ripe mango pieces
100g (3.5 oz) ripe peaches
200g (7 oz) ripe apricots
200g (7 oz) granulated sugar
1 small lemon, juice only
¼ tsp vanilla bean paste
½ tsp white rum
Method
Remove all the stones from the fruit, dice and weigh it, and place it into a large pot.
Add the sugar and the lemon juice, and stir very well, so the sugar gets evenly distributed. Let it macerate for about an hour or so. Once it has released its liquid, place the pot over medium heat, and let it very slowly come to a boil. As soon as it starts to bubble, start the timer, and cook for about 35-40 minutes, stirring almost constantly, removing any foam that appears on the surface.
As this is a tiny batch of jam, the cooking process is quick. After about 30 minutes or so, purée the jam completely with an immersion blender, and check if it has reached its setting point, either by dropping a tsp of it onto a chilled plate, and seeing if it sets after about a minute, or by inserting a candy thermometer and making sure it has reached 105°C. If not, continue cooking and checking in 5-minute intervals until set. The longer you cook it, the deeper the colour and flavour will get.
Once the jam reaches its setting point, remove it from the heat, add in the vanilla and rum, and stir very well. Let it cool down for about 10 and pour it into a sterilized jar, closing the lid tightly. Keep it in a dark and cool place, or in the refrigerator, for the best possible taste, and use it within 10 days.
Yields 350g of jam.
Notes
This is a small batch of jam, one of the smallest I make. Because of that, it cooks down very quickly, so it is best to keep it on medium to medium-low heat, depending on how hot your stove runs, and stir it constantly.


