Winter is a precious and dear season to me. It embodies calm and serenity, a time to reset, rejuvenate, and recharge for the excitement and liveliness to come in the Spring and Summer.
Christmas has passed already, and it now feels that there isn’t much to look forward to until the next big celebration rolls around.
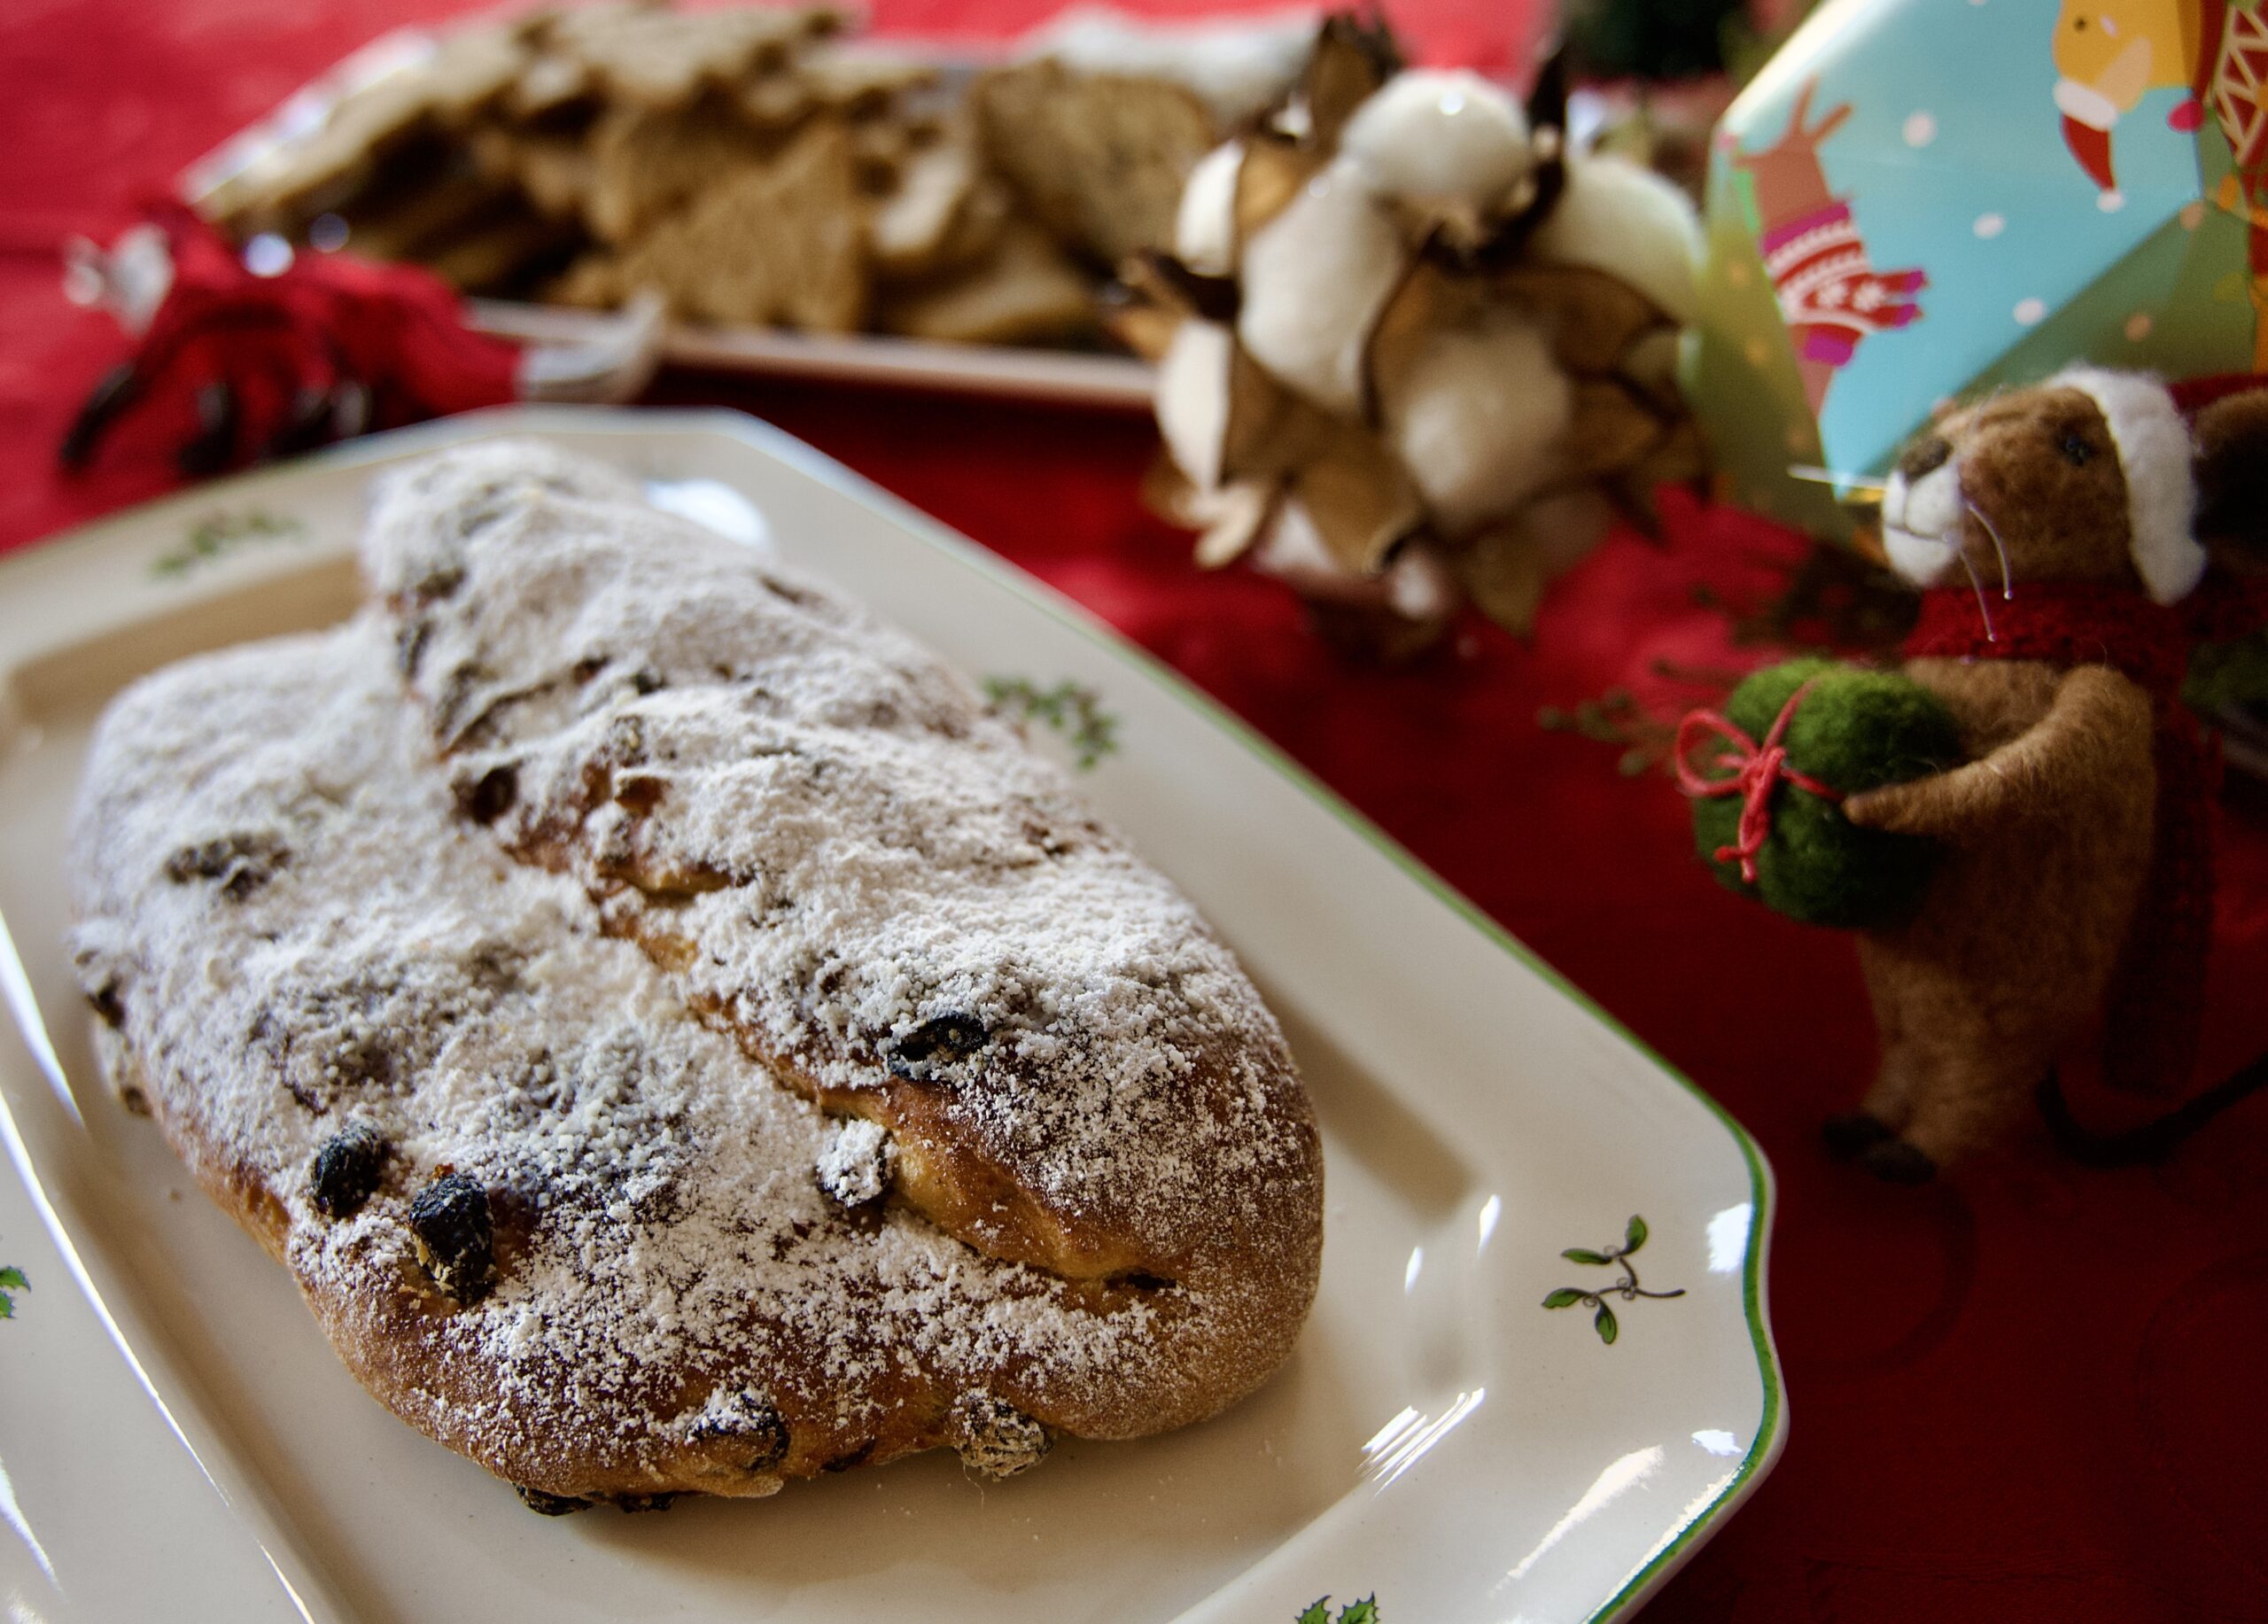
I am not ready to let go of the Holiday magic quite yet, so I decided to prolong the season’s cheer with… sugar, and fun cake decorating! Vegan eggnog cake with spicy candied ginger and a velvety cream cheese buttercream. Perfect for any Winter day (not just Christmas) that needs some sweet celebrating.

Prep Time: 1 hr (plus the decorating) | Bake Time: 35-40 min | Chill Time: 1 hr | Serves: 10 | Difficulty Level: ♦♦♦ – Intermediate
the sponge
- 3 cups Flour – all-purpose, sifted
- ¾ cup Sugar – white
- 1 ½ cup + 3 tbsp Almond-Nog – vegan
- ½ cup Oil
- 2 tsp Baking Powder
- 1 tsp Eggnog Flavoring, optional
- dash of Nutmeg
the Buttercream
- 1 cup 1/2 Powdered Sugar
- 1 cup Butter – plant-based, room temperature
- ½ cup Cream Cheese – plant-based, room temperature
- 1/3 cup Candied Ginger – diced into very small pieces
- 2 tbsp Milk – plant-based
- 2 tsp Ginger powder
- 1 tsp Allspice
- ½ tsp Salt
begin with the sponge
Preheat oven to 365° F.
Sift the flour, sugar and baking powder together in a large bowl. In a separate container, mix the almond-nog, oil and flavoring, if using any. Create a well in the center of the dry ingredients and add the wet mixture slowly while combining with a spatula in circular motions from bottom to top, from the outside moving inward. Combine just until the ingredients are uniformly combined and a silky batter is obtained.
Pour the batter in 2 greased 9” round cake pans. Bake for 35-40, until the top of the sponges become a nice light gold color.
Leave out to cool completely. It is important that the sponge be cold when assembling the cake, or the buttercream will liquify.
On to the buttercream
With an electric beater, whip the butter with the spices, cream cheese and salt. Incorporate the powdered sugar, in small additions, while beating with the electric mixer. When a smooth mixture begins to form, add the milk and candied ginger. Whip until a velvety, light and airy cream is obtain, about 10 minutes.
Cover the bowl with cling wrap and refrigerate for 1 hr to set.
Some assembly required
Place one of the sponge cakes on a flat tray, or cake stand. With a piping bag, pipe a rim around the base layer of the cake. Place a large spoonful of buttercream in the middle of the ring over the sponge and spread out evenly (about ¼” thick). Gently lay the other sponge cake over the cream. Cover the sides and top with the remaining cream with the aid of an icing spatula.
Decorate your vegan eggnog cake as desired.


EXTRAS AND TIPS
I recommend that you refrigerate the buttercream for at least 30 minutes, so that it sets and become less fickly to work with. Too hard and it’s difficult to spread evenly of the cake’s surface; too soft and it’s impossible to pipe neatly.
Almond-nog suggestion: I used Califia Farms brand “Holiday Nog.” Any other plant-based, dairy and egg-free version will work, too. This one a nice creamy nog, ideal to bake cakes with.
For the candied ginger, try to dice the pieces small enough to make them pass through the piping bag’s attachment. Keep in mind that, ideally, the diced ginger shouldn’t be minced too fine, or it will loose its characteristic spiciness. The absence of spice may make the cake a little too sweet.
Decorating Suggestion
Make some Nordic Gingerbread to decorate your cake with!!!
The Image that inspired the Village on top of the Eggnog Candied Ginger Cake

If you would like to find out more about our Adventure Photography gallery, click on the button below. There, you will find photos from our journeys around the globe. Be inspired and seek new adventures everyday.


