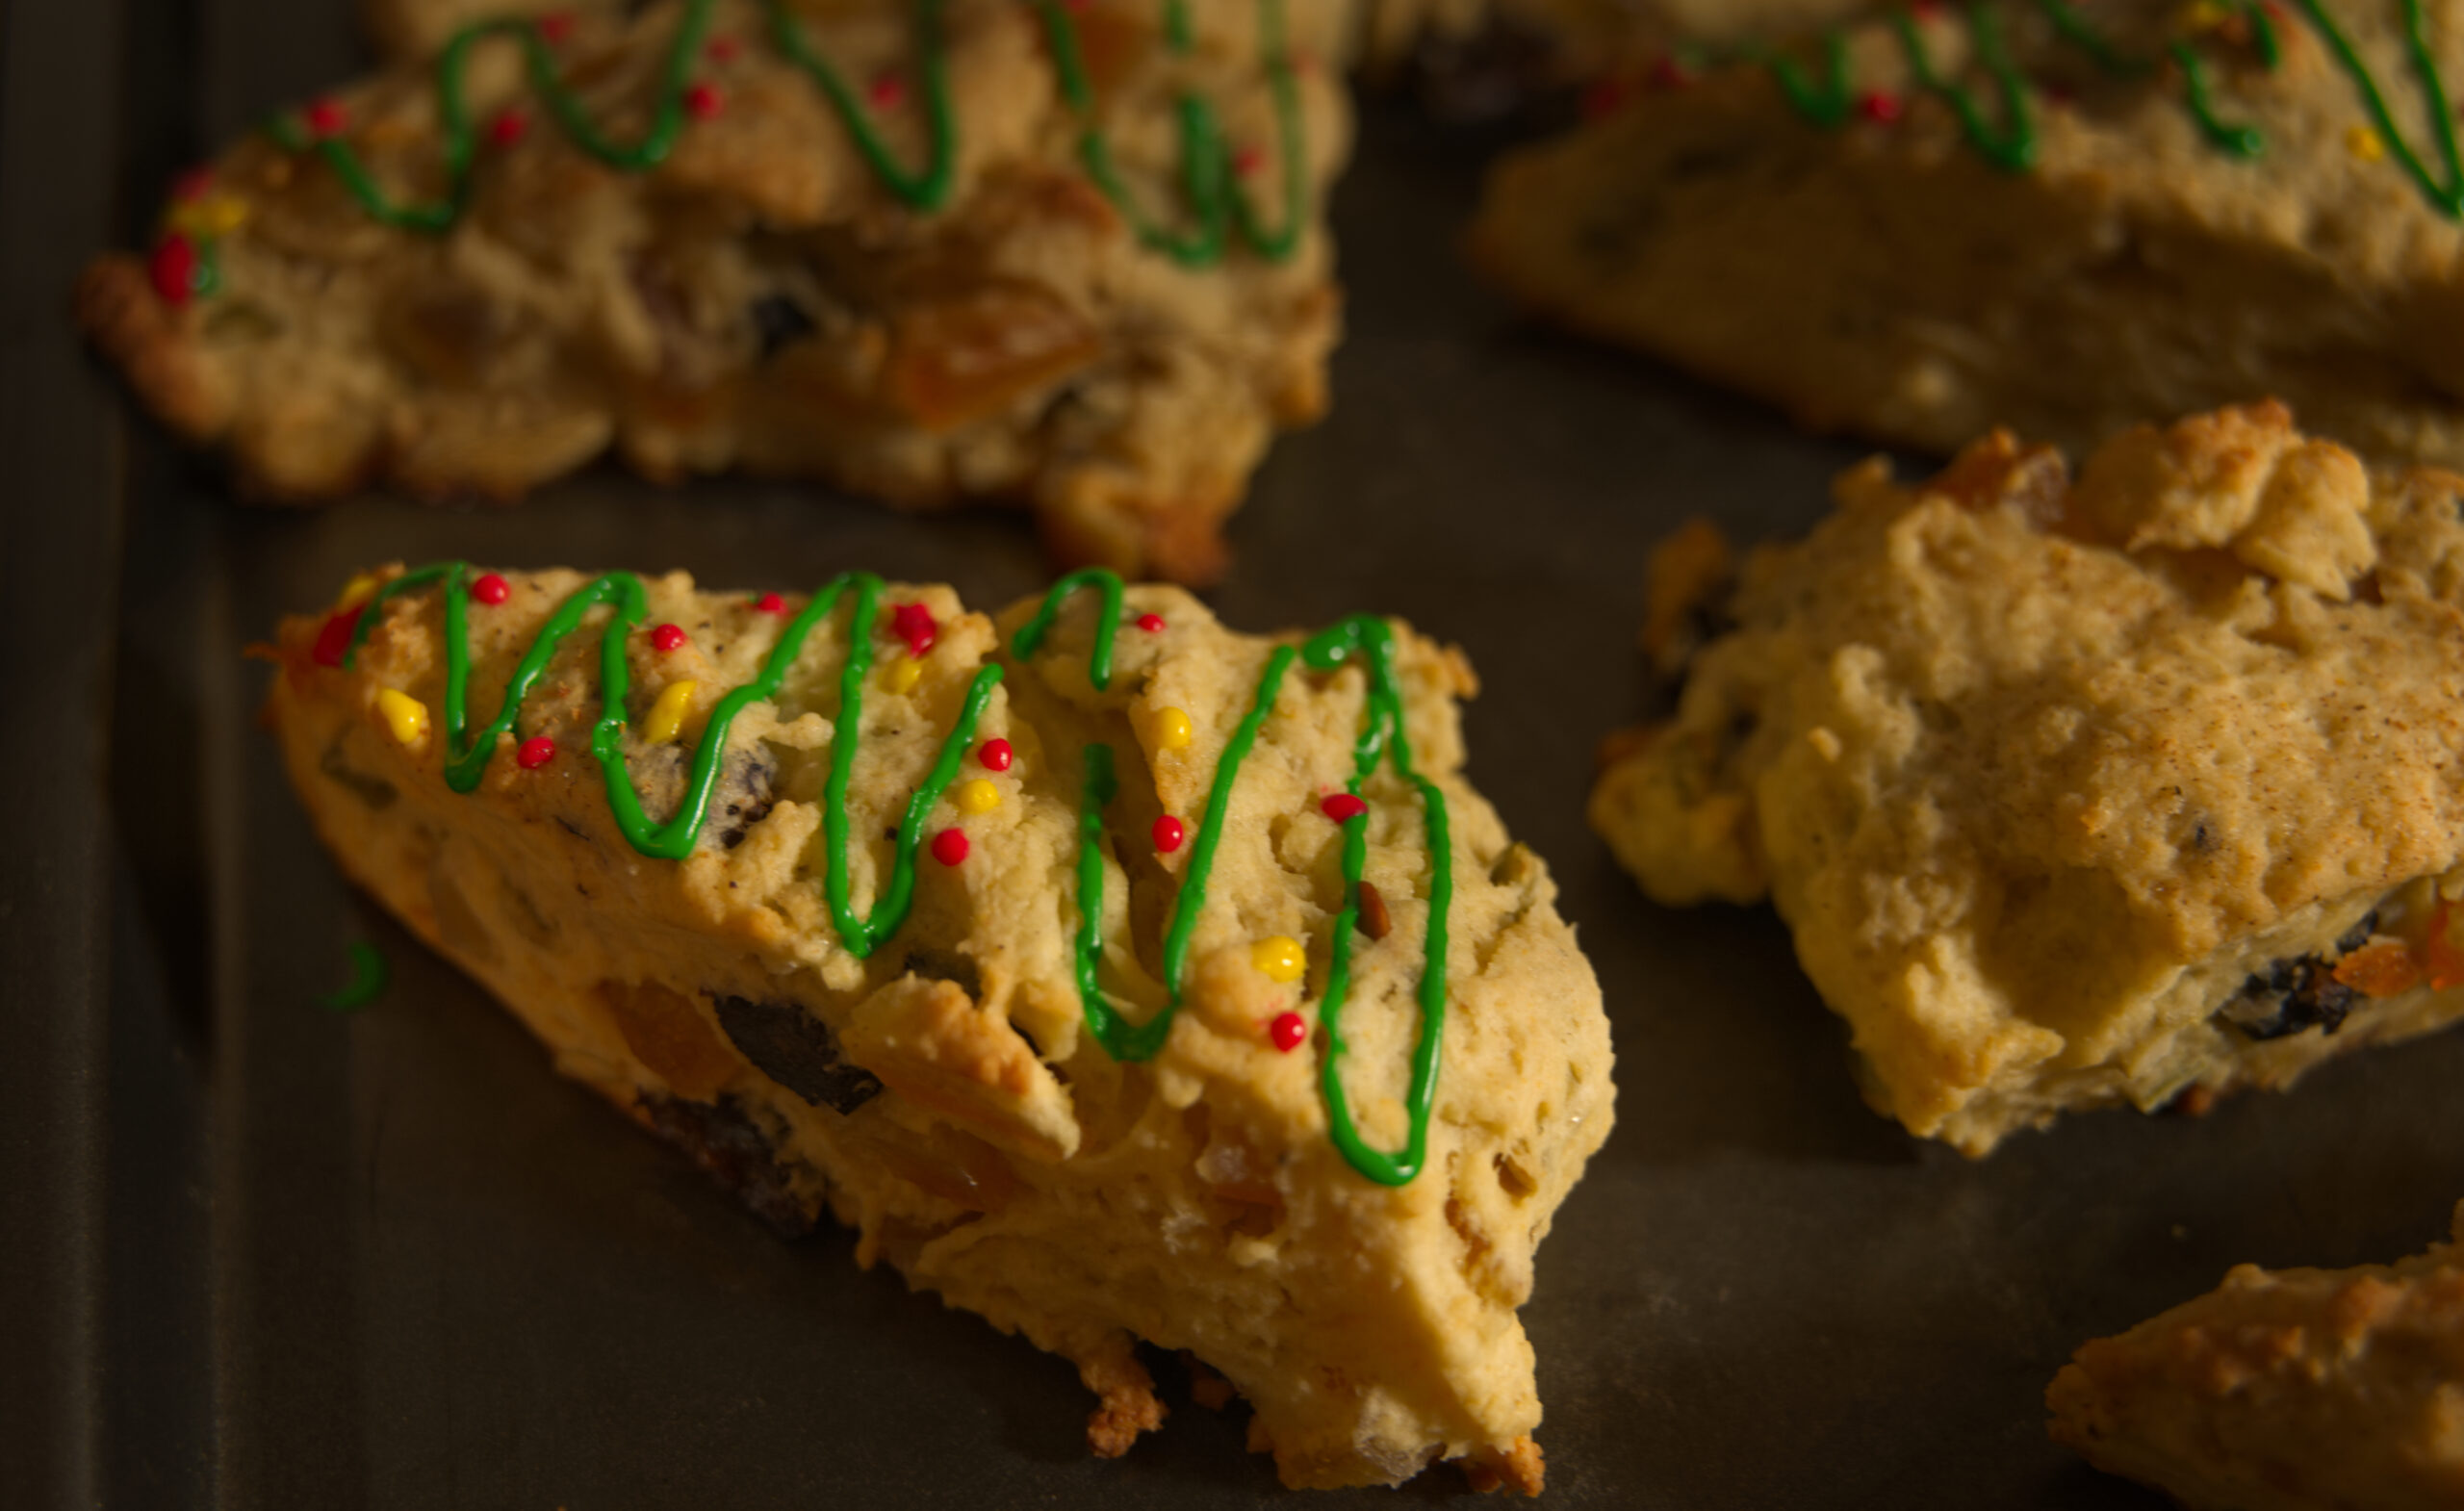
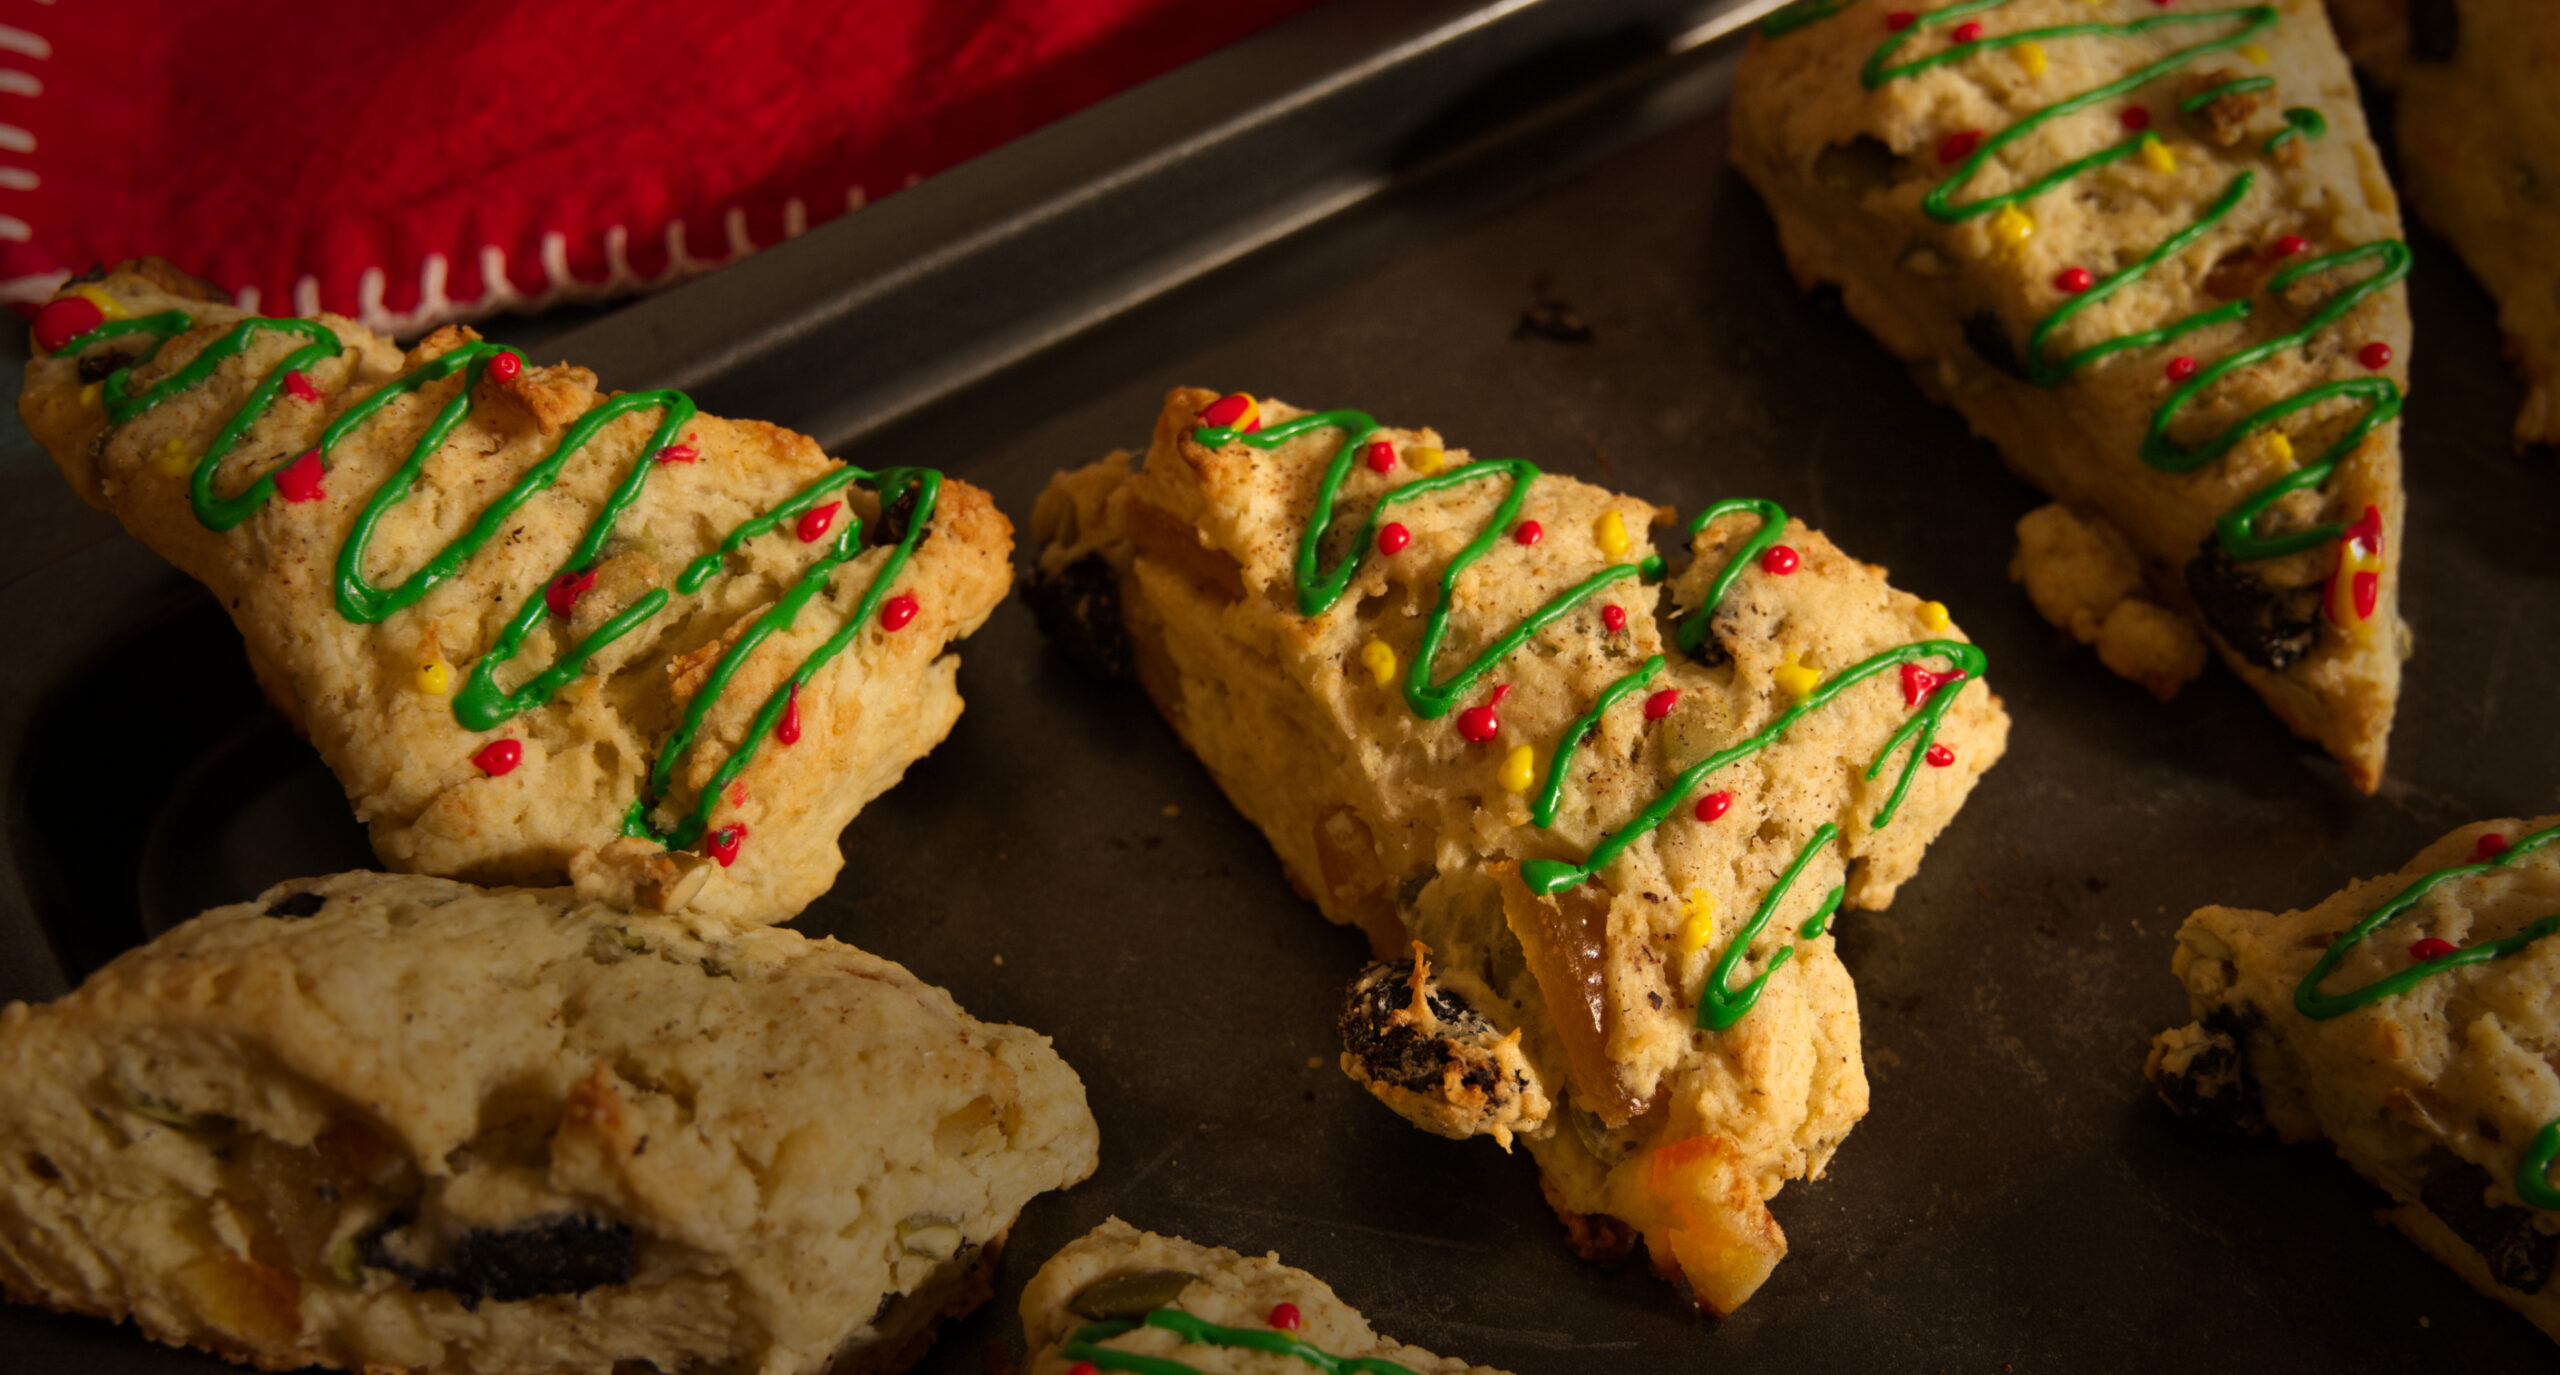
Inspired by a classic Italian holiday sweet bread, panettone, these Yule Scones are a buttery bite of Winter Magic, an explosion of beautiful colors, flavors, and textures. The base recipe can be used for a variety of flavor combinations, savory or sweet. The secret to having a buttery scone is to knead it only a few times and leaving the dough rough and not fully amalgamated.
Prep Time: 20-25 min | Bake Time: 15-18 min | Makes: 8 medium-large scones | Difficulty Level:♦♦♦ – Intermediate
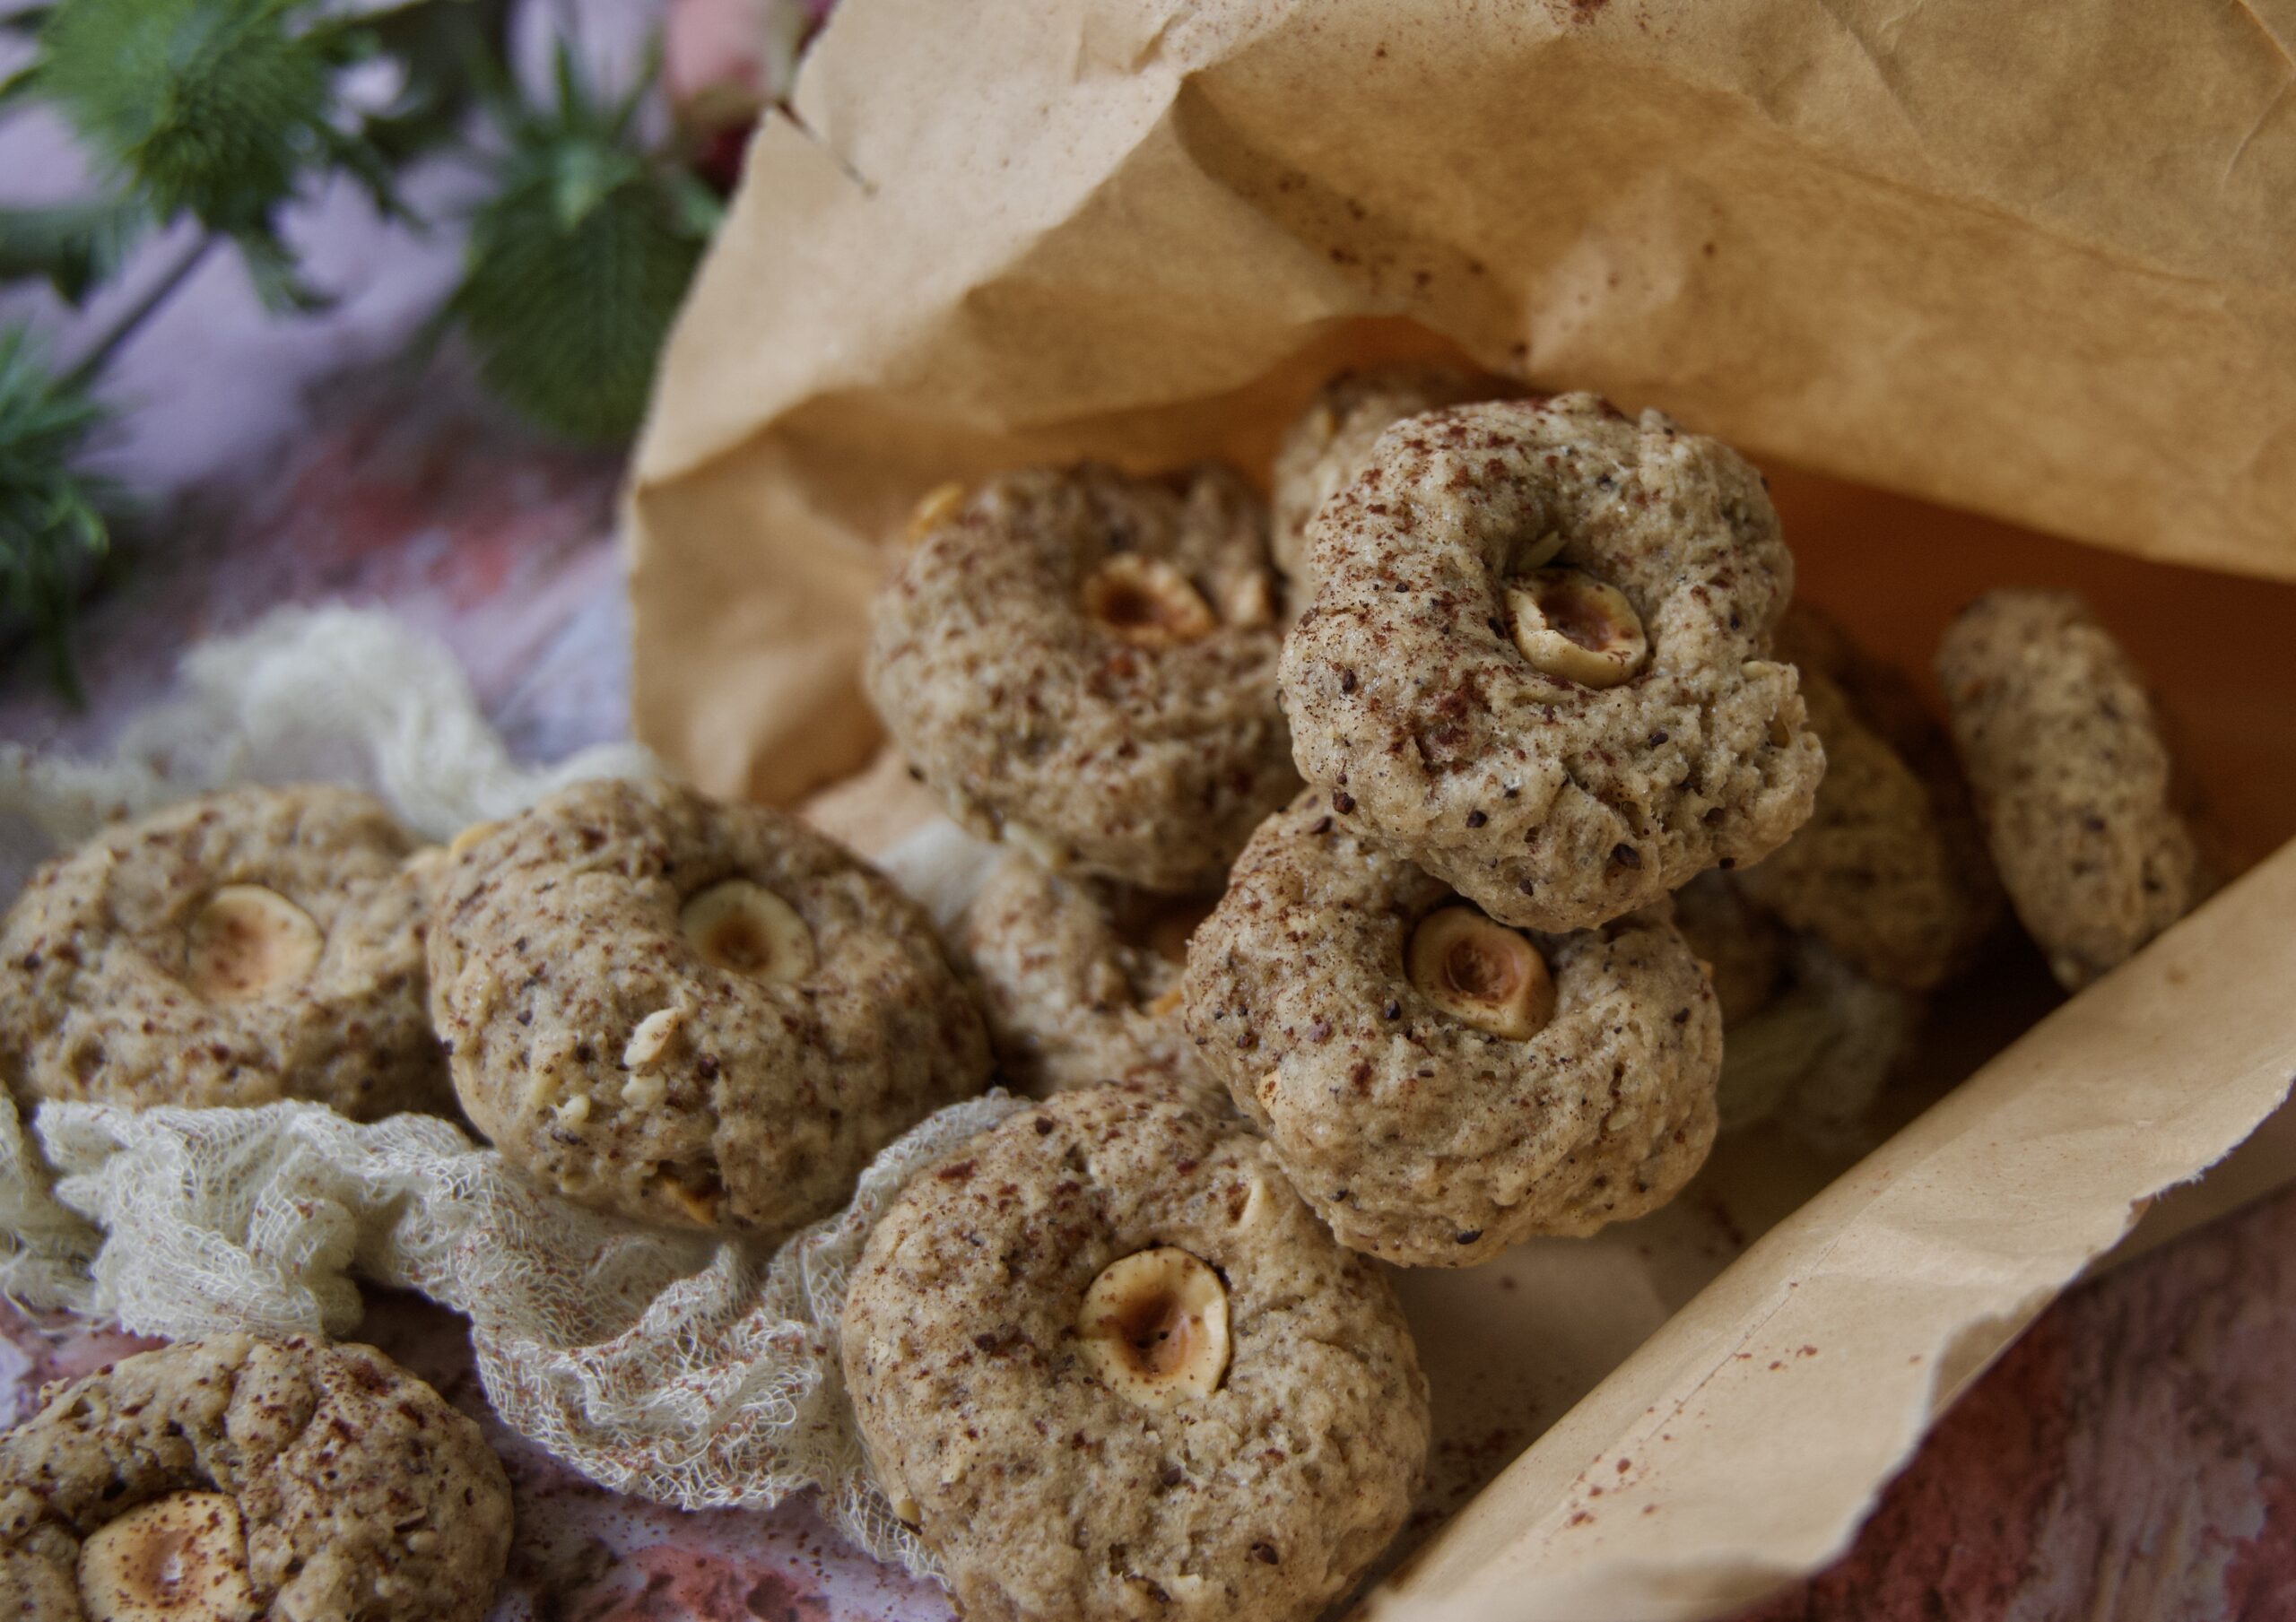
the scone
- 2 ½ cups flour, all-purpose
- ½ cup granulated sugar
- 1 stick of plant-based butter, cold
- 1 cup cold milk, plant-based
- 1 cup candied orange, chopped into small pieces
- ½ cup black currants
- ½ cup pumpkin seeds
- 2 tsp baking powder
- 1 ½ tsp nutmeg, freshly grated
- ½ tsp anise seed, crushed
- ½ tsp salt
- ¼ tsp apple cider vinegar
the scone dough
In a large mixing bowl, put flour, sugar, salt, ground star anise, nutmeg, and baking powder. Combine the ingredients with a wooden spoon until thoroughly blended. Cut in the cold butter in 1 tbsp-large pieces. With your fingers, rub the butter into the flour to obtain a crumbly mixture. The pieces of butter should be reduced down to roughly the size of a pea.
Place the milk into a small bowl and add the apple cider vinegar. Give it a stir and add to the dry ingredients while mixing with a wooden spoon to form a rough, wet dough. With your hands, bring the dough together while adding the chopped candied orange, currants, and pumpkin seeds.
Tip the scone dough onto a floured workbench and knead 5 or 6 times until the dough comes together into a malleable and slightly wet block. You should have a rough, uneven dough with ingredients that are evenly distributed throughout.
Preheat the oven to 400° F.
Shape the dough into a flattened block about 12” long, 4” wide, and 2” thick and cut into desired shapes. Transfer scones onto a cookie sheet and bake for 14-15 minutes, or until slightly golden on top.
Enjoy warm with a cup of eggnog.
EXTRAS AND TIPS
There are two fundamental aspects required to achieve the perfect vegan scones, particularly when using ingredients with less fat content (such as plant-based butters and beverages): 1. how and for how long you work the dough, and 2. the temperature and length of the bake.
The dough will be a bit wet and sticky when coming out of the mixing bowl, and that’s exactly what you want. It is so tempting to add extra flour to help you in the kneading, shaping and cutting of the scones, but please do resist the temptation. You can dust some flour on your workbench before you turn the dough, but I highly recommend you use a dull knife or stainless steel scraper to assist while working the dough. Reduce the kneading to a bare minimum – if you work it for too long, the scones will become too rubbery and even worse DRY.
Precision baking is also a prerequisite for successful scones. Ensure that the oven has reached the desired temperature before inserting the dough. You want to bake at at a higher temperature than you would normally use for cookies, brownies, or cakes, because the heat needs to crystalize the sugar on the surface of the scones while slowly melting the fat contained in the inner dough. Higher heat will ensure that the golden-brown outside and flaky inside characteristic of a good scone will be achieved.
Be mindful that baking on an oven rack that is too high or too low may also affect the bake. In other words, place the cookie sheet on the middle rack of you oven for a more even bake. Last, be mindful that if the vegan scones bake a few seconds too long, and they dry out to a sad point of non return. The taste will still be there, but the texture will be all wrong. Be around when the times goes off to verify whether they should bake for an additional minute or be pulled out immediately.
With regards to cutting the scones, I usually do wedges, but you can use any type of shape or cookie cutter, just don’t forget to adjust the bake time depending on the size you choose to cut your scones. I don’t like to use a pan because the center always ends up being under baked and too doughy compared to the rest of the bread.


